

Hi fellow crafters
Well the sun may be shining here in Eastbourne in the South East of England but that doesn’t stop me thinking about Christmas. (Yes, I said the dreaded C Word) Any non-crafters would probably be calling me all sorts of names by now but we know, Christmas usually starts for us in June/July.
The new Stampin’ Up! July-December 2021 Mini Catalogue is due to launch on the 3rd August and here is a little sneak peak of some of the new papers that are featured.
I used the papers from the Sweet Stockings Sweet of products which, although not used in this card, has a selection of christmassy images featuring gorgeous cats, dogs, hamsters, birds etc. Everthing for the more conventional pet lovers amongst us.
The dimensions of my card are as follows:
- Cardbase: Thick A4 Basic White Card cut to measure 8-1/4″ x 7-1/2″ scored on the 7-1/2″ side at 3-3/4″
- Card Layer: Cherry Cobbler Card measuring 8-1/4″ x 3-1/4″
- DSP Layer: Sweet Stockings DSP measuring 8″ x 3″
Before adhering my Matt and Layered piece to my Cardbase, I wrapped a piece of ribbon around the centre. I fussy cut three of the stockings from the paper and mounted them on to some die cut stitched rectangles using dimensionals and then stuck them to the right hand side of the card front, leaving a small gap between each of them. I die cut a label shape from Cherry Cobbler card and heat embossed a white sentiment which I also mounted to the card front with dimensionals and added a bow to the side.
I stamped a sentiment on the inside of the card and attached two strips of the same DSP one to each edge.

To make the envelope I cut a piece of A4 card to measure 8-1/4″ x 10-1/2″. I scored this on the longside at 1″ and 10″ and on the short side at 2-1/4″ and 6-1/4″. I cut the four corners away, notched each side of the shorter flap and rounded the corners of the larger flap. I added double sided tape to the inside of one side and the bottom flap and then folded it up.
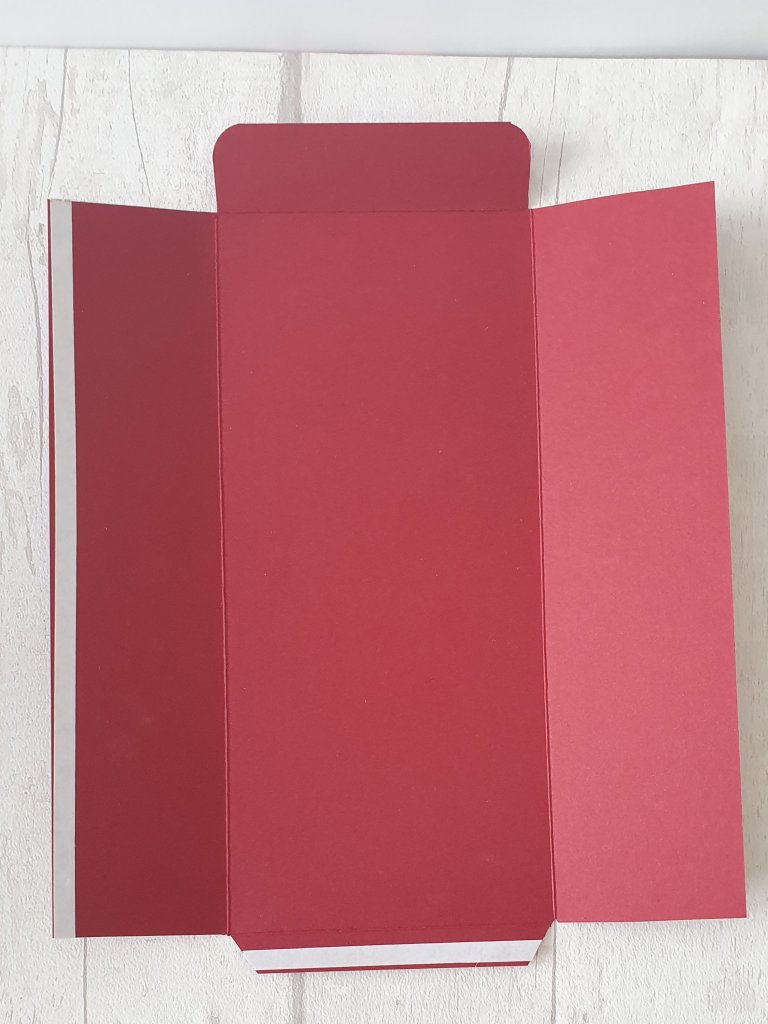
I then made a thumb hole using a small circle punch and added some double sided tape to the top flap.

Finally I added a couple of strips of the DSP to the flap and the end of the front of the envelope.

I hope you like this card as much as I enjoyed making it and if you would like these papers (available from 3rd August) or any of the other products I have used, head over to my online shop.
Thanks for stopping by
Debbie x
